How to Create a Google Map with Multiple Locations (2025 Tutorial)
How to Create a Map with Multiple Locations for Free: The Technical Guide
Want to display multiple points on an interactive map without spending money? While Google Maps offers a powerful free tier, setting it up requires navigating technical hurdles. This guide will show you the official method to create a multi-location map for free using Google’s APIs.
The service itself is free for moderate usage, but the setup requires a Google Cloud account and basic coding knowledge.
Method: Using the Google Maps Platform Free Tier
Google offers a $200 monthly credit for its Maps Platform, which effectively makes it free for most small to medium websites. Here’s how to use it.
Step 1: Set Up Your Google Cloud Project and API Key
This is the most complex but essential step. You cannot proceed without a properly configured API key.
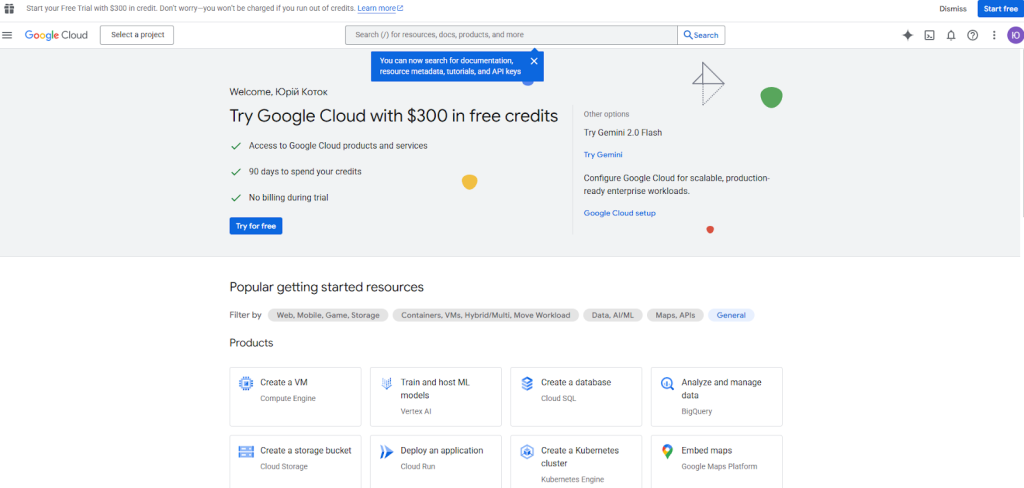
1. Go to the Google Cloud Console: Navigate to https://console.cloud.google.com/ .
- 2. Create a New Project: Click the project dropdown and select “New Project”. Name it something recognizable like “Free-Multi-Location-Map”.
- 3. Enable Billing: This is required but you won’t be charged until you exceed the $200 monthly credit. For typical map usage, you’ll likely never pay anything.
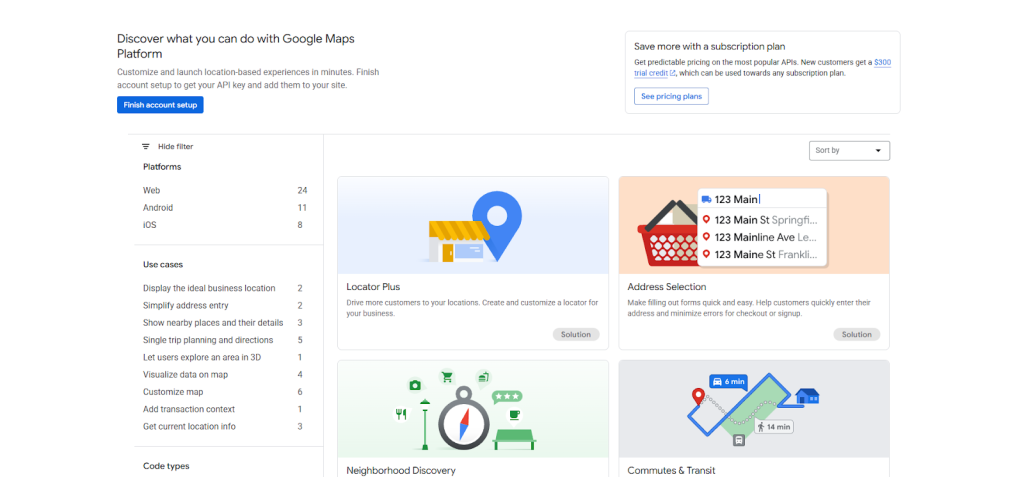
- 4. Enable the Required APIs: Go to “APIs & Services” > “Library”. Search for and enable these two essential APIs:
- Maps JavaScript API (displays the map)
- Geocoding API (converts addresses to coordinates)
- 5. Create and Secure Your API Key: Go to “APIs & Services” > “Credentials”. Create a new API key and immediately restrict it to “HTTP referrers” and limit it to only the “Maps JavaScript API” and “Geocoding API”.
Step 2: Build Your Free Multi-Location Map
Create an HTML file called `free-multi-location-map.html` and use this complete code template:
html
<!DOCTYPE html>
<html>
<head>
    <title>Free Multi-Location Map</title>
    <meta name="viewport" content="width=device-width, initial-scale=1.0">
    <!-- Load Google Maps API with your FREE key -->
    <script async defer src="https://maps.googleapis.com/maps/api/js?key=YOUR_FREE_API_KEY&callback=initMap"></script>
    <style>
        #map {
            height: 500px;
            width: 100%;
            border-radius: 10px;
            margin: 20px 0;
        }
        .map-container {
            max-width: 800px;
            margin: 0 auto;
            padding: 20px;
        }
    </style>
</head>
<body>
    <div class="map-container">
        <h1>Our Locations</h1>
        <p>Visit us at any of our convenient locations across the city.</p>
        <div id="map"></div>
    </div>

    <script>
        function initMap() {
            // Initialize the map
            const map = new google.maps.Map(document.getElementById("map"), {
                zoom: 8,
                center: { lat: 40.7128, lng: -74.0060 }, // New York as default center
            });

            // Define your locations - add as many as you need!
            const locations = [
                {
                    name: "Downtown Store",
                    position: { lat: 40.7128, lng: -74.0060 },
                    address: "123 Main St, New York, NY"
                },
                {
                    name: "Brooklyn Branch",
                    position: { lat: 40.6782, lng: -73.9442 },
                    address: "456 Park Ave, Brooklyn, NY"
                },
                {
                    name: "Queens Outlet",
                    position: { lat: 40.7282, lng: -73.7942 },
                    address: "789 Broadway, Queens, NY"
                }
            ];

            const infowindow = new google.maps.InfoWindow();
            const bounds = new google.maps.LatLngBounds();

            // Add markers for each location
            locations.forEach(location => {
                const marker = new google.maps.Marker({
                    position: location.position,
                    map: map,
                    title: location.name
                });

                // Extend bounds to include each marker
                bounds.extend(marker.getPosition());

                // Add click event to show location details
                marker.addListener('click', () => {
                    infowindow.setContent(`
                        <div style="padding: 8px;">
                            <h3 style="margin: 0 0 5px 0;">${location.name}</h3>
                            <p style="margin: 0; color: #666;">${location.address}</p>
                            <a href="https://www.google.com/maps/dir/?api=1&destination=${location.position.lat},${location.position.lng}"
                               target="_blank"
                               style="color: #1a73e8; text-decoration: none;">
                                Get Directions
                            </a>
                        </div>
                    `);
                    infowindow.open(map, marker);
                });
            });

            // Auto-zoom to show all markers
            map.fitBounds(bounds);
        }

        // Handle API loading errors
        window.gm_authFailure = function() {
            alert("There was an error loading the map. Please check your API key.");
        };
    </script>
</body>
</html>
Code language: HTML, XML (xml)
Replace `YOUR_FREE_API_KEY` with the restricted API key you created in Step 1.
Step 3: Deploy Your Free Map
- 1. Test Locally: Open your HTML file in a web browser. You should see your map with all locations marked.
- 2. Upload to Your Website:
- – For basic websites: Upload the HTML file to your web hosting
- – For WordPress: Use a “Custom HTML” block
- – For other platforms: Look for an “Embed Code” or “HTML” option
The Hidden Costs of the “Free” Method
While technically free financially, this approach comes with other significant costs:
- – Time Investment: Setting up the Google Cloud project and API key can take beginners over an hour
- – Technical Complexity: Requires understanding of API restrictions, billing accounts, and JavaScript
- – Security Risks: Improperly secured API keys can lead to unexpected charges
- – Maintenance Burden: Every location change requires editing code and re-uploading files
- – Limited Features: Advanced styling and clustering require extensive additional coding
A Truly Simple Free Alternative
What if you could create a professional multi-location map in under 5 minutes, with no technical setup whatsoever?
MapsFun.com offers a completely free plan that eliminates all these complexities:
- 1. No Account Required: Start creating immediately without any sign-up
- 2. Visual Editor: Click on the map to add points – no coordinates or coding needed
- 3. Zero Configuration: No API keys, no cloud console, no billing setup
- 4. Rich Customization: Choose from multiple map styles and marker designs
- 5. Instant Embedding: Copy and paste one simple line of code to any website
Why spend hours wrestling with technical setup when you can **create a beautiful, interactive multi-location map for free in just minutes at MapsFun.com?