How to Create a Google Map with Multiple Locations (2025 Complete Guide)
How to Create a Google Map with Multiple Locations: A Practical Guide
Whether you’re showcasing store locations, planning an event, or visualizing project sites, a custom map with multiple pins is incredibly useful. While Google provides the tools, creating a polished, embeddable map is more complex than it seems. This guide covers the working methods and their limitations.
Method 1: The “My Maps” Manual Approach
Google’s “My Maps” is the most accessible tool for non-developers, but it comes with a dated interface and limited design options.
Step 1: Create Your Base Map
- 1. Go to https://www.google.com/mymaps.
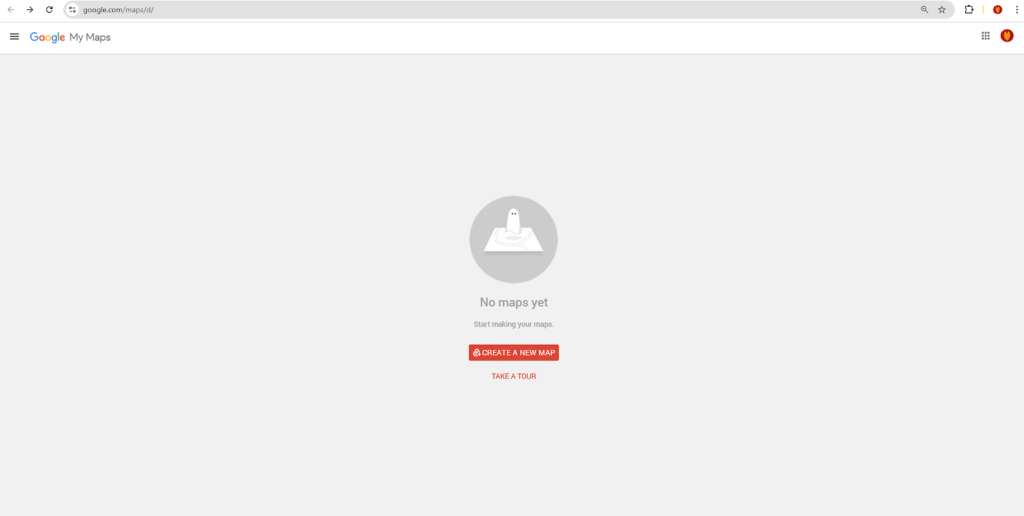
- 2. Sign in with your Google account and click “Create a New Map.”
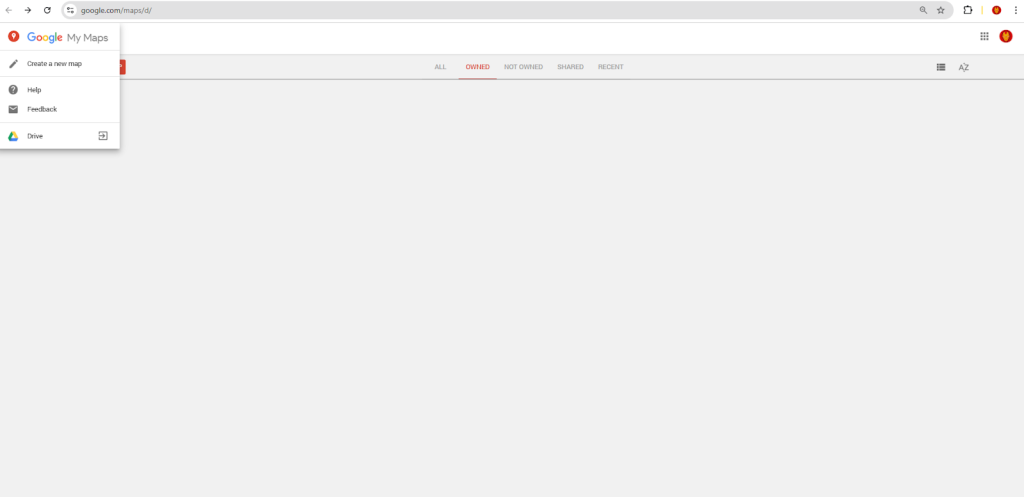
- 3. Click “Untitled map” to give it a name and description.
Step 2: Add Your Locations
You can add locations in two ways:
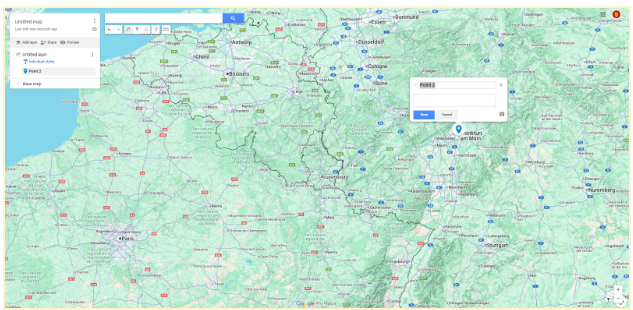
– Search: Use the search bar at the top, then click “Add to map.”
– Manual Pin: Click the marker icon (🔘) below the search bar, then click on the map to drop a pin.
Step 3: Customize and Embed
- 1. Click on any pin to open its info window. Here, you can edit the title, add a description, and change the icon’s color and shape.
- 2. To make the map public, click the “Share” button and set the visibility to “Public on the web.”
- 3. To embed, click the three-dot menu (⋮) next to your map’s title and select “Embed on my site.”
- 4. Copy the provided `<iframe>` code.
Example Embed Code:
html
<iframe src="https://www.google.com/maps/d/embed?mid=1AbC2dEf3GhIjK4l&hl=en" width="640" height="480"></iframe>
Code language: HTML, XML (xml)
The Downsides:
- – The embedded map has a generic, unstylish appearance.
- – Customization is very limited—you can’t easily add custom icons or match your website’s branding.
- – The interface becomes slow and cumbersome with more than a few dozen locations.
Method 2: The Developer’s Approach (Google Maps JavaScript API)
For full control over the map’s look and behavior, you can use code. This method is powerful but requires technical expertise.
Prerequisite: Get Your API Key
- 1. Go to the [Google Cloud Console](https://console.cloud.google.com/).
- 2. Create a project, enable billing, and enable the “Maps JavaScript API”.
- 3. Under “Credentials,” create an API Key and restrict it to your domain for security.
Step 2: Build the Map with Code
Create an HTML file and use this template. This code creates a map with three markers and an info window that opens when you click a marker.
Replace `YOUR_API_KEY` with your actual key.
html
<!DOCTYPE html>
<html>
<head>
    <title>Custom Multi-Location Map</title>
    <style>
        /* Map container styling */
        #map {
            height: 600px;
            width: 100%;
            border-radius: 8px;
            box-shadow: 0 2px 6px rgba(0,0,0,0.1);
        }
    </style>
</head>
<body>
    <h2>Our Global Offices</h2>
    <div id="map"></div>

    <script>
        function initMap() {
            // Set the initial map view
            const mapCenter = { lat: 20, lng: 0 };

            // Initialize the map
            const map = new google.maps.Map(document.getElementById("map"), {
                zoom: 2,
                center: mapCenter,
                mapId: 'YOUR_MAP_ID' // Optional: for custom map styles
            });

            // Define locations: [Title, Latitude, Longitude]
            const locations = [
                ['New York Office', 40.7128, -74.0060],
                ['London Office', 51.5074, -0.1278],
                ['Tokyo Office', 35.6762, 139.6503]
            ];

            const infowindow = new google.maps.InfoWindow();

            // Create markers for each location
            locations.forEach(([title, lat, lng]) => {
                const marker = new google.maps.Marker({
                    position: { lat: lat, lng: lng },
                    map: map,
                    title: title // Tooltip on hover
                });

                // Add click event to show location name
                marker.addListener('click', () => {
                    infowindow.setContent(`<div style="padding: 10px;"><strong>${title}</strong></div>`);
                    infowindow.open(map, marker);
                });
            });
        }
    </script>
    <!-- Load the Maps JavaScript API -->
    <script async defer src="https://maps.googleapis.com/maps/api/js?key=YOUR_API_KEY&callback=initMap"></script>
</body>
</html>
Code language: HTML, XML (xml)
The Challenges of This Method:
- – Steep Learning Curve: Requires knowledge of HTML, CSS, and JavaScript.
- – API Management: You must handle a Google Cloud account, billing, and API key security to prevent unauthorized use.
- – Complex Customization: Simple changes like adding a custom marker icon require additional code. For example, adding a custom icon involves modifying the marker object:
javascript
const marker = new google.maps.Marker({
    position: { lat: lat, lng: lng },
    map: map,
    title: title,
    icon: {
        url: 'path/to/your/custom-icon.png',
        scaledSize: new google.maps.Size(40, 40)
    }
});Code language: JavaScript (javascript)
The Hassle-Free Alternative: Why This Process is Unnecessarily Complex
As you can see, creating a professional multi-location map involves a trade-off. “My Maps” is easy but lacks professionalism and customization, while the API method offers total control but requires significant technical skill and ongoing maintenance.
This complexity is precisely the problem that MapsFun.com solves. It’s built for everyone who needs a professional result without the developer-level hassle.
- – Truly No-Code: A visual editor lets you search, click, and drag to add locations—no programming required.
- – Instant Customization: Change map styles, upload custom marker icons, and design beautiful info windows with images and links in a few clicks.
- – No API or Billing Setup: We handle all the backend infrastructure. You just create and embed.
- – Optimized for Performance: Maps are automatically optimized for fast loading on all devices.
Don’t waste time on clunky interfaces or complex code. You can create a stunning, custom Google Map with multiple locations in minutes, not hours. See how easy it can be at MapsFun.com.