How to Map Multiple Points on Google Maps (2025 Complete Guide)
How to Map Multiple Points on Google Maps: The Developer’s Guide
Need to display several locations on a single Google Map for your website? While the standard Google Maps interface is great for finding one place, creating a custom, embeddable map with multiple points requires a more technical approach. This guide will walk you through the official method using the Google Maps JavaScript API.
This process requires a Google Cloud account, enabling APIs, and writing JavaScript code. It’s powerful but not for the faint of heart.
Method: Using the Google Maps JavaScript API
This is the most flexible way to create a custom multi-point map, but it involves several precise steps.
Step 1: Set Up Your Google Cloud Project and API Key
This is the foundational and most complex step. You cannot proceed without a valid, restricted API key.
- 1. Go to the Google Cloud Console: Navigate to https://console.cloud.google.com/.
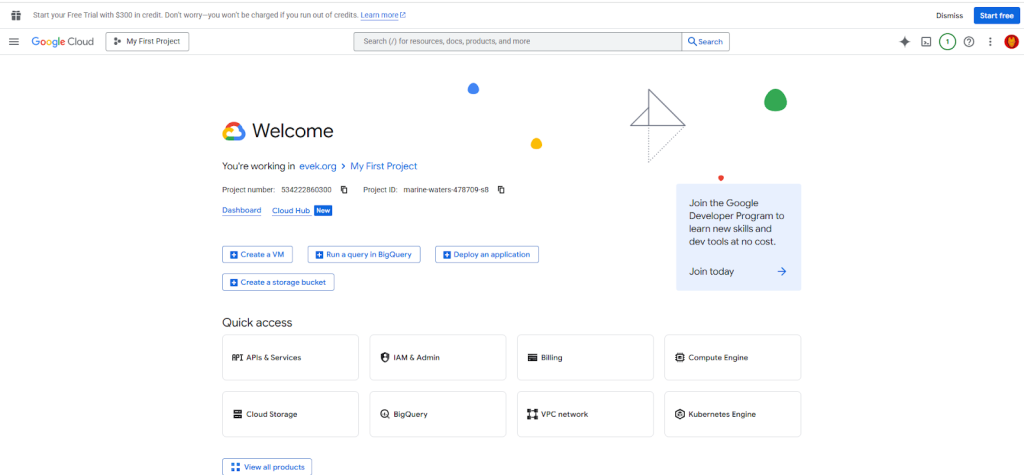
- 2. Create a New Project: Click the project dropdown at the top of the page and select “New Project”. Give it a clear name like “Multi-Point-Map”.
- 3. Enable Billing: You must enable billing on your project. Don’t worry—Google provides a **$200 monthly credit**, which is more than enough for most websites’ map usage.
- 4. Enable the Necessary APIs: Go to “APIs & Services” > “Library”. Search for and enable these two critical APIs:
- -Maps JavaScript API (renders the map)
- -Geocoding API (converts addresses to coordinates)
The API Library in Google Cloud Console where you enable the required services.
- 5. Create and Restrict an API Key: Go to “APIs & Services” > “Credentials”. Click “Create Credentials” and choose “API key”. **This is crucial:** Immediately restrict this key by clicking on it. Under “Application restrictions,” choose “HTTP referrers,” and under “API restrictions,” restrict it to only the Maps JavaScript API and Geocoding API. This prevents others from stealing and misusing your key.
Step 2: Write the HTML and JavaScript Code
Now, create an HTML file (e.g., `my-map.html`) and use the following code. This code creates a map, defines an array of locations, and uses a loop to place a marker for each one. It also automatically adjusts the zoom to show all points.
html
<!DOCTYPE html>
<html>
<head>
    <title>Store Locator</title>
    <meta name="viewport" content="width=device-width, initial-scale=1.0">
    <!-- Load the Google Maps API with your key -->
    <script async defer src="https://maps.googleapis.com/maps/api/js?key=YOUR_API_KEY_HERE&callback=initMap"></script>
    <style>
        #map {
            height: 600px;
            width: 100%;
            border: 1px solid #ddd;
            border-radius: 8px;
        }
        body {
            font-family: Arial, sans-serif;
            max-width: 1200px;
            margin: 40px auto;
            padding: 0 20px;
        }
        h1 {
            color: #333;
        }
    </style>
</head>
<body>
    <h1>Our Store Locations</h1>
    <p>Find our stores across the city. Click on a marker for more details.</p>

    <!-- The map will be rendered inside this div -->
    <div id="map"></div>

    <script>
        function initMap() {
            // Create a new map instance
            const map = new google.maps.Map(document.getElementById("map"), {
                zoom: 10,
                center: { lat: 51.5074, lng: -0.1278 }, // Default center (London)
            });

            // Define your locations as an array of objects
            const locations = [
                { title: "Central Store", lat: 51.5074, lng: -0.1278, address: "123 Main St" },
                { title: "North Branch", lat: 51.5853, lng: -0.1283, address: "456 Oak Ave" },
                { title: "South Warehouse", lat: 51.4527, lng: -0.1388, address: "789 Pine Rd" },
                { title: "East Outlet", lat: 51.5365, lng: -0.0590, address: "321 Elm St" }
            ];

            // Create an InfoWindow to share between markers
            const infowindow = new google.maps.InfoWindow();

            // Create a LatLngBounds object to auto-zoom the map
            const bounds = new google.maps.LatLngBounds();

            // Loop through the locations and add a marker for each
            locations.forEach(location => {
                const marker = new google.maps.Marker({
                    position: { lat: location.lat, lng: location.lng },
                    map: map,
                    title: location.title
                });

                // Extend the bounds to include this marker's position
                bounds.extend(marker.getPosition());

                // Add a click listener to show the InfoWindow
                marker.addListener('click', () => {
                    infowindow.setContent(`
                        <div style="padding: 8px;">
                            <h3 style="margin: 0;">${location.title}</h3>
                            <p style="margin: 5px 0;">${location.address}</p>
                            <a href="https://maps.google.com/?q=${location.lat},${location.lng}" target="_blank">Get Directions</a>
                        </div>
                    `);
                    infowindow.open(map, marker);
                });
            });

            // Auto-zoom the map to fit all markers
            map.fitBounds(bounds);
        }
    </script>
</body>
</html>
Code language: HTML, XML (xml)
Replace `YOUR_API_KEY_HERE` in the script tag with the actual restricted API key you generated in Step 1.
Step 3: Embed the Map on Your Website
Test your map by opening the HTML file in a web browser. If it works:
- – For static sites: Upload the HTML file to your web server.
- – For CMS platforms (WordPress, etc.): Use a custom HTML block or a plugin that allows you to insert raw code, and paste the entire snippet.
The Challenges of This Method
While this approach is powerful, it’s fraught with complexity:
- – Technical Barrier: Requires significant comfort with cloud consoles, API management, and JavaScript.
- – Billing Setup: The mandatory billing activation is a major hurdle for non-developers.
- – Security Risks: An improperly secured API key can lead to unexpected, high charges.
- – Maintenance Headache: Adding, removing, or editing locations requires manual code changes and redeployment.
- – Limited Customization: Basic styling is easy, but advanced features require extensive additional coding.
Create Your Map in Minutes, Not Hours
What if you could achieve the same result—or better—without writing a single line of code or touching the Google Cloud Console?
MapsFun.com is built specifically to solve this problem. It’s a user-friendly platform that handles all the technical complexity for you.
- 1. Visual, No-Code Editor: Simply search for locations and click on the map to add points. No latitude/longitude needed.
- 2. No API Keys or Billing: We manage all the backend infrastructure. Just sign up and start building your map.
- 3. Rich Customization: Easily customize map styles, marker icons, and info window content with a simple point-and-click interface.
- 4. Instant Embedding: Get a clean, secure embed code to paste into any website or CMS, just like embedding a YouTube video.
Stop wrestling with code and configuration. Create a stunning, professional multi-point map effortlessly and for free at MapsFun.com.