How to Create Dynamic CMS Maps in Webflow
The Ultimate Guide to Creating a Dynamic CMS Map in Webflow (The Hard Way)
Want to display a map on your Webflow site where locations are pulled dynamically from a CMS collection? Imagine a map that automatically updates when you add new store locations, event venues, or portfolio projects. While powerful, building a true CMS-powered map in Webflow is a complex, code-heavy challenge. This guide walks you through the only viable—yet technically demanding—method.
Why Native Webflow Can’t Do CMS Maps
Webflow’s CMS is excellent for dynamic lists, but it has no native component for plotting CMS items on a map. The standard Embed element is static. To connect CMS data to an interactive map, you must bridge Webflow’s front-end with the Google Maps API using custom code
The Architecture of a CMS Map
Here’s what you’re building:
- 1. CMS Collection (e.g., “Locations”) with Address, Latitude, and Longitude fields.
- 2. A map container on your page.
- 3. Custom JavaScript that:
- – Fetches CMS data via Webflow’s `window.Webflow` API.
- – Initializes a Google Map.
- – Plots each CMS item as a marker.
Part 1: Setting Up Your CMS Collection
Your collection structure is critical. You need geographic coordinates.
- 1. Create a collection named “Locations.”
- 2. Add these fields:
- – Name (Plain Text)
- – Address (Plain Text)
- – Latitude (Number, with decimals)
- – Longitude (Number, with decimals)
- – Description (Multi-Line Text, optional)
Important: You must manually populate the Latitude and Longitude fields. Use a tool like [LatLong.net](https://www.latlong.net/) to convert addresses to coordinates. This is your first major manual hurdle.
Part 2: Get a Google Maps API Key
1. Go to [Google Cloud Console](https://console.cloud.google.com/)
- 2. Create a project, enable billing, and enable the “Maps JavaScript API” and “Geocoding API”.
- 3. Create and restrict an API Key to your domain.
Part 3: The Complex JavaScript Implementation
This is the core of the solution. You’ll need to add this code to your Webflow project.
Step 1: Add the JavaScript to Webflow
Go to Project Settings > Custom Code > Footer Code. Paste the following:
html
<script>
// Wait for Webflow CMS to load
window.Webflow ||= [];
window.Webflow.push(() => {

  // Your Google Maps API Key (REPLACE THIS!)
  const apiKey = 'YOUR_GOOGLE_MAPS_API_KEY_HERE';

  // Load Google Maps API dynamically
  const script = document.createElement('script');
  script.src = `https://maps.googleapis.com/maps/api/js?key=${apiKey}&callback=initCmsMap`;
  script.async = true;
  document.head.appendChild(script);
});

// Main map initialization function
function initCmsMap() {
  // Get all CMS items
  const cmsItems = document.querySelectorAll('[data-location-item]');

  if (cmsItems.length === 0) {
    console.error('No CMS items found');
    return;
  }

  // Parse CMS data into an array
  const locations = [];
  cmsItems.forEach(item => {
    const name = item.querySelector('[data-location-name]').textContent;
    const lat = parseFloat(item.querySelector('[data-location-lat]').textContent);
    const lng = parseFloat(item.querySelector('[data-location-lng]').textContent);
    const address = item.querySelector('[data-location-address]').textContent;

    if (!isNaN(lat) && !isNaN(lng)) {
      locations.push({
        position: { lat, lng },
        title: name,
        address: address
      });
    }
  });

  if (locations.length === 0) return;

  // Calculate map center (average of all coordinates)
  const avgLat = locations.reduce((sum, loc) => sum + loc.position.lat, 0) / locations.length;
  const avgLng = locations.reduce((sum, loc) => sum + loc.position.lng, 0) / locations.length;

  // Initialize the map
  const map = new google.maps.Map(document.getElementById('cms-map-container'), {
    zoom: locations.length === 1 ? 12 : 10,
    center: { lat: avgLat, lng: avgLng },
    styles: [
      {
        "featureType": "all",
        "elementType": "labels.text.fill",
        "stylers": [{ "color": "#7c7c7c" }]
      }
    ]
  });

  // Add markers for each location
  locations.forEach(location => {
    const marker = new google.maps.Marker({
      position: location.position,
      map: map,
      title: location.title
    });

    // Info window with CMS data
    const infoWindow = new google.maps.InfoWindow({
      content: `
        <div style="padding: 12px; max-width: 200px;">
          <h3 style="margin: 0 0 8px 0; color: #333;">${location.title}</h3>
          <p style="margin: 0; color: #666; font-size: 14px;">${location.address}</p>
        </div>
      `
    });

    marker.addListener('click', () => {
      infoWindow.open(map, marker);
    });
  });
}
</script>
Code language: HTML, XML (xml)
Step 2: Set Up Your Webflow Page
- 1. Add a Collection List to your page.
- 2. Wrap the list items in a div with display: none (we only need the data, not the visual list).
- 3. Add Custom Attributes to elements inside each list item:
- – data-location-item (on the list item wrapper)
- – data-location-name (on element showing the Name field)
- – data-location-lat (on a hidden element with the Latitude)
- – data-location-lng (on a hidden element with the Longitude)
- – data-location-address (on element showing the Address)
- 4. Add an empty div with ID cms-map-container where the map will render.
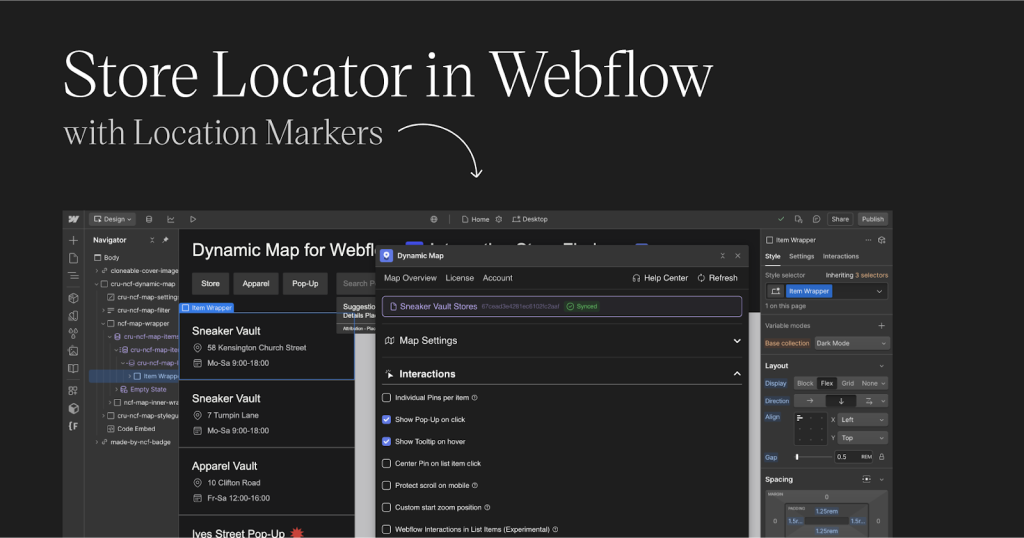
The Webflow Designer view showing hidden CMS items with data attributes and the visible map container.
Step 3: Add CSS Styling
In Project Settings > Custom Code > Head Code, add:
html
<style>
#cms-map-container {
  width: 100%;
  height: 600px;
  border-radius: 12px;
  margin: 40px 0;
}

/* Hide the CMS list visually but keep it accessible to JavaScript */
.cms-list-wrapper {
  display: none !important;
  visibility: hidden;
  height: 0;
  overflow: hidden;
}
</style>
Code language: HTML, XML (xml)
The Five Major Pain Points of This Approach
- 1. Manual Coordinate Entry: You must find and input Lat/Long for every CMS item.
- 2. API Key Management: Exposing your key in Custom Code is a security risk.
- 3. Code Fragility: Any change to CMS structure breaks the map.
- 4. No Geocoding: Addresses don’t automatically convert to coordinates.
- 5. Performance Issues: The map loads only after all Webflow and CMS scripts load.
The Webflow Designer’s Nightmare Visualization
[Your CMS Collection]
       ↓ (Manual Lat/Long entry)
[Webflow CMS API]
       ↓ (Custom JavaScript Bridge)
[Google Maps API]
       ↓ (Complex Data Binding)
[Rendered Map on Page]
Code language: JavaScript (javascript)
Each arrow represents a potential point of failure requiring debugging.
There’s a Better Way: Dynamic CMS Maps with MapsFun.com
What if you could create a CMS-powered map without a single line of code, API keys, or manual coordinate entry?
MapsFun.com offers native Webflow CMS integration with a visual, no-code approach:
- 1. Automatic Geocoding: Simply connect your “Locations” collection—MapsFun automatically converts addresses to coordinates.
- 2. Visual Editor: Style your map, customize pins, and design info windows in a drag-and-drop interface.
- 3. Real-time Sync: Add or edit locations in your Webflow CMS, and the map updates automatically.
- 4. One-click Embed: Get a simple embed code that works perfectly with Webflow’s native components.
- 5. Advanced Features: Clustering for many pins, custom map styles, and interactive filters.
Stop spending hours debugging custom code and manually entering coordinates. Create a stunning, dynamic CMS map that automatically syncs with your Webflow collection in minutes. Try MapsFun.com today—the only tool built specifically for Webflow designers who need powerful maps without the complexity.