Best Squarespace Map Plugins & Extensions
The Ultimate Guide to Squarespace Map “Plugins”: How to Add Custom Maps
Looking for a true map “plugin” for Squarespace to show multiple locations, custom markers, or interactive features? You might be surprised to learn that Squarespace doesn’t support third-party plugins in the traditional sense. The only way to add advanced, custom map functionality is through a manual code injection. This guide will show you how to create and install your own custom map “plugin” using code.
This method effectively creates a bespoke plugin for your site, but it requires handling API keys and editing your site’s code.
Method 1: Create Your Own Custom Map “Plugin” with Code Injection
This approach involves building your map’s functionality from the ground up and injecting it into every page of your site, much like a real plugin would.
Step 1: Build the Foundation with a Google Maps API Key
Think of this as registering your “plugin” with Google.
- 1. Go to the Google Cloud Console: Navigate to https://console.cloud.google.com/.
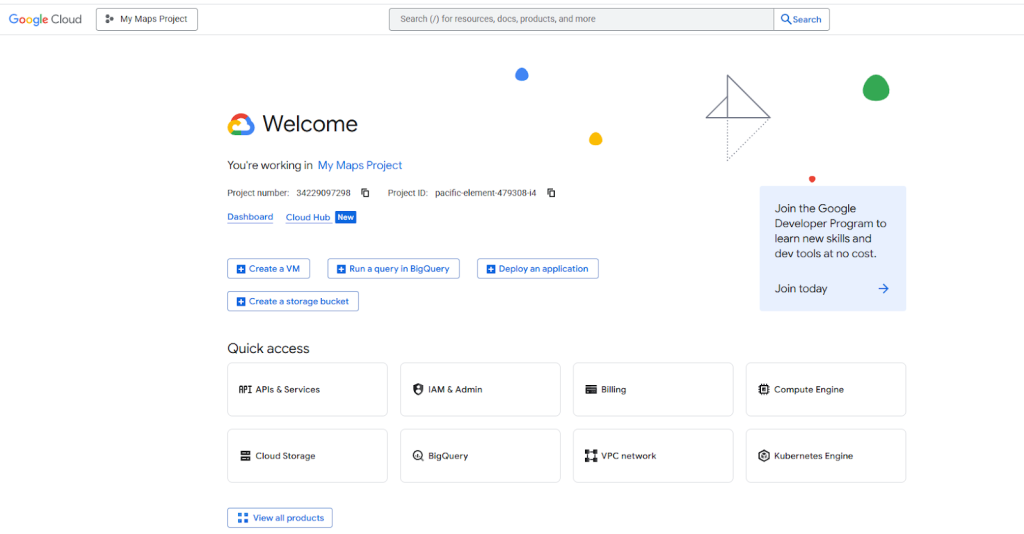
- 2. Create a New Project: Name it something identifiable, like “Squarespace Map Plugin”.
- 3. Enable Billing: A credit card is required, but the generous $200 monthly credit will cover all typical usage.
- 4. Enable the Necessary APIs: In the “API Library,” enable these two services:
- Maps JavaScript API
- Geocoding API
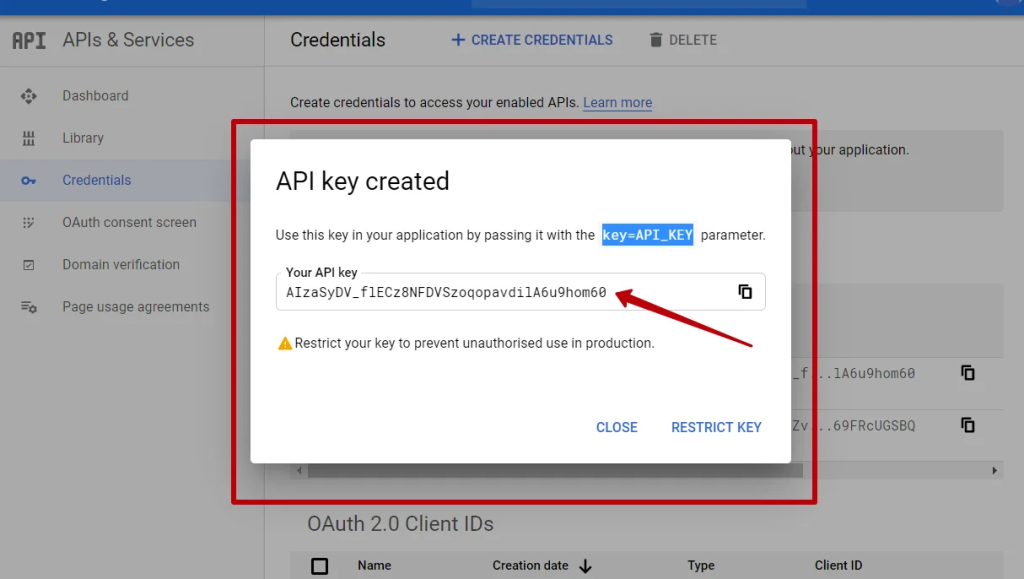
- 5. Create Your API Key: Under “Credentials,” generate a new key and **immediately restrict it** to your Squarespace domain and the Maps JavaScript API.
The credentials page where you create and restrict your API key.
Step 2: “Install” the Plugin with Universal Code Injection
This is the core of our custom plugin. We’ll add the code to your site’s header so it’s available everywhere.
- 1. From your Squarespace dashboard, go to Settings > Developer Tools > Code Injection.
- 2. In the Header field, paste the following code to create your map framework. Replace `YOUR_API_KEY` with your key from Step 1.
html
<!-- Custom Squarespace Map Plugin v1.0 -->
<style>
    .sqs-custom-map {
        height: 450px;
        width: 100%;
        border-radius: 8px;
        margin: 20px 0;
        border: 1px solid #e5e5e5;
    }
    .sqs-map-container {
        position: relative;
    }
</style>

<script>
// Custom Map Plugin Functionality
function initSquarespaceCustomMap(mapElementId, locations) {
    if (!document.getElementById(mapElementId)) return;

    const map = new google.maps.Map(document.getElementById(mapElementId), {
        zoom: 10,
        center: { lat: locations[0].lat, lng: locations[0].lng },
        styles: [{
            "featureType": "poi",
            "stylers": [{ "visibility": "off" }] // Hides unnecessary points of interest
        }]
    });

    const infowindow = new google.maps.InfoWindow();
    const bounds = new google.maps.LatLngBounds();

    locations.forEach(location => {
        const marker = new google.maps.Marker({
            position: { lat: location.lat, lng: location.lng },
            map: map,
            title: location.title
        });

        marker.addListener('click', () => {
            infowindow.setContent(`<strong>${location.title}</strong><br>${location.address}`);
            infowindow.open(map, marker);
        });
        bounds.extend(marker.getPosition());
    });

    map.fitBounds(bounds); // Auto-zoom to fit all markers
}

// Initialize the Google Maps API
function loadMapPlugin() {
    const script = document.createElement('script');
    script.src = 'https://maps.googleapis.com/maps/api/js?key=YOUR_API_KEY&callback=mapPluginLoaded';
    script.async = true;
    document.head.appendChild(script);
}

// Global callback when maps API is ready
window.mapPluginLoaded = function() {
    console.log('Squarespace Map Plugin Loaded');
    // You can initialize a default map here if needed
};

// Load the plugin when the page is ready
if (document.readyState === 'loading') {
    document.addEventListener('DOMContentLoaded', loadMapPlugin);
} else {
    loadMapPlugin();
}
</script>
Code language: HTML, XML (xml)
Step 3: Deploy Your “Plugin” on Any Page
Now, to use your new “plugin,” simply add a Code Block to any page with this simple snippet:
html
<div class="sqs-map-container">
    <h3>Our Store Locations</h3>
    <div id="store-locations-map" class="sqs-custom-map"></div>
</div>

<script>
// Define your locations for this specific map
const storeLocations = [
    { title: 'Flagship Store', lat: 40.7128, lng: -74.0060, address: '123 Main St, New York, NY' },
    { title: 'Downtown Boutique', lat: 40.7074, lng: -74.0113, address: '456 Park Ave, New York, NY' },
    { title: 'Westside Outlet', lat: 40.7211, lng: -74.0005, address: '789 Broadway, New York, NY' }
];

// Initialize the map when the API is ready
if (window.google && window.google.maps) {
    initSquarespaceCustomMap('store-locations-map', storeLocations);
} else {
    window.addEventListener('mapPluginLoaded', () => {
        initSquarespaceCustomMap('store-locations-map', storeLocations);
    });
}
</script>
Code language: HTML, XML (xml)
This creates a separation of concerns: the “plugin” code lives in the header, and you simply call its functions from individual pages.
The Challenges of This DIY “Plugin” Approach
While this method works, it comes with significant drawbacks that mirror the hassles of plugin development:
- API Key Management: You become responsible for the security and billing of your Google Cloud API key, with potential financial risk if mismanaged.
- Code Maintenance: Any updates or bug fixes require you to manually edit the code in the Code Injection panel. There are no automatic updates.
- Technical Complexity: Debugging requires console expertise and a deep understanding of both the Google Maps API and JavaScript.
- Fragile Integration: A mistake in the code can break the functionality site-wide, as it’s injected into every page.
- Limited Features: Advanced features like custom marker clustering, KML import, or advanced styling require extensive additional coding.
The Professional, Codeless Alternative: MapsFun.com
Why embark on a complex development project when a professional, ready-made solution exists that requires no coding and offers more features?
MapsFun.com acts exactly like the perfect Squarespace map plugin you’ve been searching for, but without any of the technical headaches:
- 1. No Code or API Keys: Get started immediately without any setup. We handle all the backend complexity.
- 2. Visual Map Builder: Point, click, and customize your map through an intuitive visual editor—no coding required.
- 3. True Plug-and-Play: Simply copy the embed code from MapsFun.com and paste it into a Squarespace Code Block. It works instantly.
- 4. Rich Feature Set: Access advanced features like custom marker icons, multiple map styles, and interactive info windows that would take dozens of hours to code manually.
- 5. Automatic Updates: Your maps automatically receive improvements and maintenance on our end.
Stop building and maintaining a custom “plugin.” Get a professional, feature-rich mapping solution for your Squarespace site in minutes with MapsFun.com.