How to Embed Google Maps in Shopify
How to Embed a Custom Google Map in Your Shopify Store
Displaying your store location, multiple warehouses, or event venues with a custom Google Map can build trust and help customers find you. While Shopify has basic contact forms, adding a true, customizable Google Map requires a technical approach. This guide will walk you through the manual method of embedding a custom Google Map using your own API key
This method gives you full control but requires a Google Cloud account, API key management, and editing your Shopify theme code. Proceed with caution if you’re not comfortable with code.
Method 1: The Manual Google Maps API & Theme Code Method
This approach allows for deep customization but involves several technical steps.
Step 1: Generate Your Google Maps API Key
This is the foundational and most complex step.
1. Go to the Google Cloud Console: Navigate to [https://console.cloud.google.com/](https://console.cloud.google.com/).
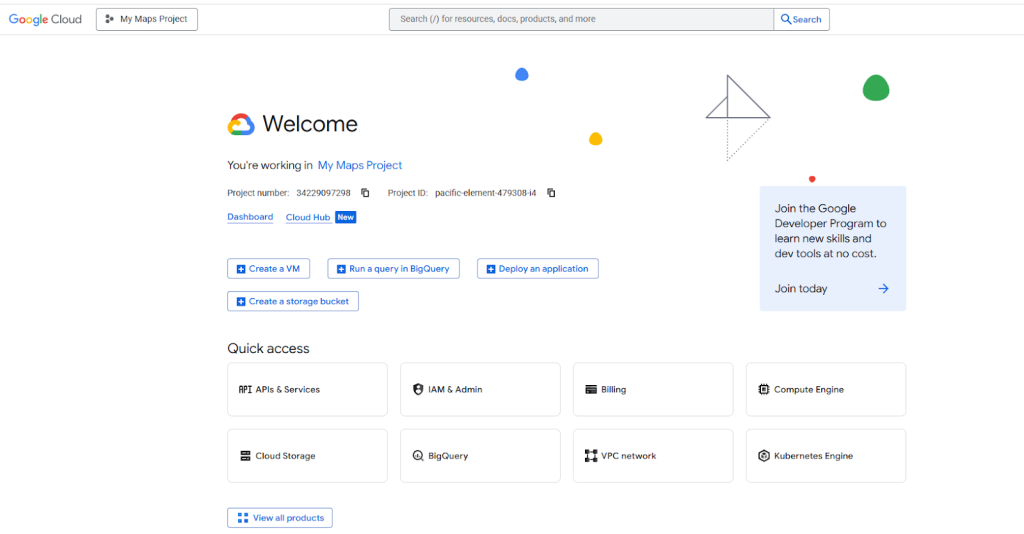
- 2. Create a Project: Click the project dropdown and create a new project, giving it a name like “My Shopify Map”.
- 3. Enable Billing: You must enable billing on your project. Google offers a recurring $200 monthly credit, which typically covers all usage for a standard store map.
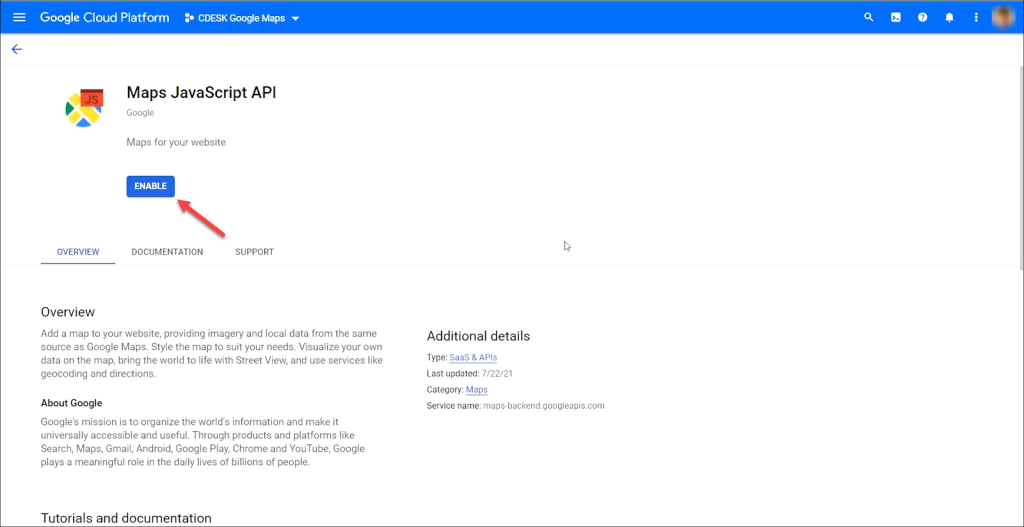
- 4. Enable the Required APIs: Go to “APIs & Services” > “Library”. Search for and enable these two critical APIs:
- Maps JavaScript API (to display the map)
- Geocoding API (to convert addresses into coordinates)
- 5. Create and Restrict Your API Key: Go to “APIs & Services” > “Credentials”. Click “Create Credentials” > “API Key”. **This is a crucial security step:** Click on the key and restrict it to the “Maps JavaScript API” and your Shopify store’s domain under “HTTP referrers” (e.g., `https://your-store.myshopify.com`, `https://www.yourstore.com`)
You must enable the Maps JavaScript API in your Google Cloud project.
Step 2: Add the Map Container to a Shopify Page
You can add the map to a specific page, like a “Visit Us” or “Locations” page.
- 1. From your Shopify Admin, go to Online Store > Pages.
- 2. Create a new page or edit an existing one.
- 3. In the content editor, click on the `</>` (Show HTML) button.
- 4. Add a simple div element that will act as the container for your map. Give it a unique ID.
html
h2>Find Us Here</h2>
<!-- This is where your Google Map will appear -->
<div id="map-container"></div>Code language: HTML, XML (xml)
Step 3: Edit Your Theme Code to Inject the Map
This is the most technical part, where you’ll add the JavaScript that brings the map to life
- 1. From your Shopify Admin, go to Online Store > Themes.
- 2. Click on Actions > Edit code for your current theme.
- 3. In the Layout directory, find and open the `theme.liquid` file. This file loads on every page.
- 4. Just before the closing `</body>` tag, add the following code. Replace `YOUR_API_KEY` with your actual restricted API key from Step 1.
html
<script>
// Only run the map code on the specific page where your container exists
if (document.getElementById('map-container')) {
    function initMap() {
        // Define your locations: [Title, Lat, Lng]
        const locations = [
            ['Flagship Store', 40.7128, -74.0060],
            ['Downtown Outlet', 40.7074, -74.0113],
            ['Warehouse & Returns', 40.7211, -74.0005]
        ];

        // Create the map centered on the first location
        const map = new google.maps.Map(document.getElementById('map-container'), {
            zoom: 12,
            center: { lat: locations[0][1], lng: locations[0][2] },
            styles: [{"stylers": [{"saturation": -100}]}] // Optional: Grayscale style
        });

        // Create an info window
        const infowindow = new google.maps.InfoWindow();

        // Loop through locations and add markers
        locations.forEach(([title, lat, lng]) => {
            const marker = new google.maps.Marker({
                position: { lat, lng },
                map: map,
                title: title,
                // icon: 'https://link-to-your-custom-icon.png' // Optional custom icon
            });

            // Add click listener to each marker
            marker.addListener('click', () => {
                infowindow.setContent(`<h3>${title}</h3>`);
                infowindow.open(map, marker);
            });
        });
    }

    // Load the Google Maps API script
    const script = document.createElement('script');
    script.src = `https://maps.googleapis.com/maps/api/js?key=YOUR_API_KEY&callback=initMap`;
    script.async = true;
    document.head.appendChild(script);
}
</script>

<style>
    /* Basic styling for the map container */
    #map-container {
        height: 500px;
        width: 100%;
        margin: 20px 0;
        border-radius: 8px;
        border: 1px solid #e1e5e9;
    }
</style>
Code language: HTML, XML (xml)
This code creates a responsive, multi-marker map that automatically loads on the page where you placed the `#map-container` div.
The Significant Challenges of This Method
While this DIY approach is powerful, it presents major hurdles for most Shopify store owners:
- API Key Security Risk: You are personally responsible for **restricting your API key**. A leaked, unrestricted key can lead to massive, unexpected charges on your Google Cloud bill.
- Theme Code Vulnerability: Editing `theme.liquid` is risky. A single syntax error can break your entire site. Any mistake requires debugging code to fix.
- Complex Maintenance: To change a location or add a new pin, you must find its latitude/longitude, edit the code in the theme editor, and save the changes—a fragile and time-consuming process.
- Theme Update Conflicts: If you update your Shopify theme, your custom code in `theme.liquid` will be overwritten, and you’ll have to re-add it manually.
The Simple, Professional Alternative: MapsFun.com
Why risk your site’s stability and spend hours on complex code when you can achieve a better result in minutes?
MapsFun.com is designed specifically to solve this problem, offering a seamless, codeless experience for Shopify merchants.
- 1. Absolutely No Coding: Our visual editor lets you search for addresses and add pins with a click. No APIs, no theme editors, no risky code.
- 2. No API Keys or Billing: We handle all the backend infrastructure and security. There is zero risk of unexpected charges from Google.
- 3. Effortless Shopify Integration: Once your map is designed, you get a simple embed code. Just paste it into the HTML view of any page, product description, or blog post. It works instantly.
- 4. Superior Customization: Easily apply custom map styles, upload your own marker icons, and design rich info windows with text and images—all through a simple point-and-click interface.
Stop risking your store’s functionality with complex code. Create a stunning, high-performance Google Map for your Shopify store in just a few clicks with MapsFun.com.