How to Add Google Maps to Wix (2025 Complete Guide)
How to Add a Custom Google Map to Your Wix Website (A Step-by-Step Guide)
Embedding an interactive Google Map on your Wix site can enhance user experience by showing your location, service areas, or multiple storefronts. While Wix offers a basic map element, it lacks the customization and multi-location features of a true Google Map. This guide will show you the manual method to embed a fully custom Google Map.
The professional method requires a Google Cloud account, API key management, and some coding. It’s powerful but technical.
Method 1: The Manual Google Maps API Integration
This approach gives you full control over the map’s design and functionality.
Step 1: Get Your Google Maps API Key
This is the most critical and complex step.
- 1. Go to the Google Cloud Console: Navigate to [https://console.cloud.google.com/]
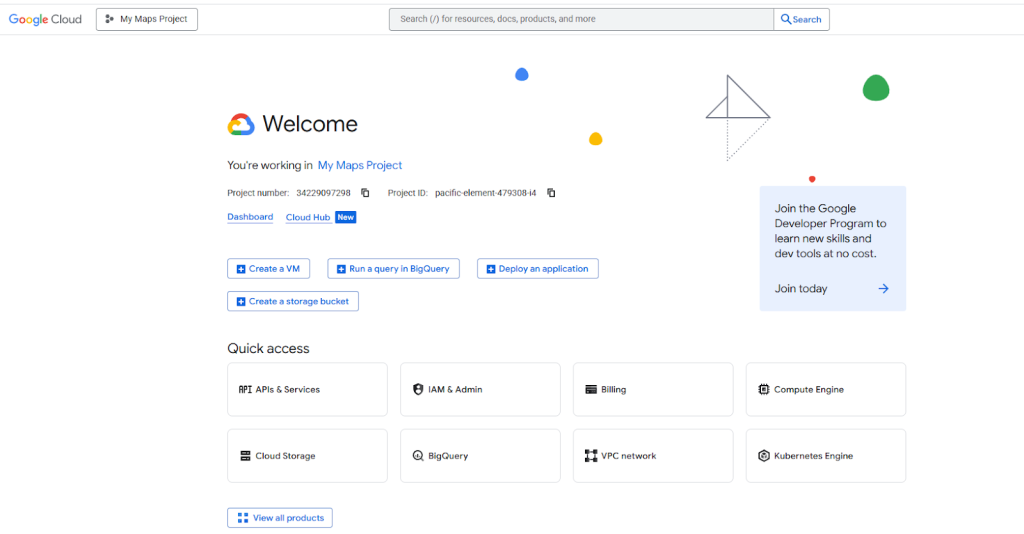
- 2. Create a Project: Click “Select a Project” > “New Project” and give it a name.
- 3. Enable Billing: You must enable billing on your project. Don’t panic—Google provides a $200 monthly credit, which covers far more than typical map usage.
- 4. Enable the Necessary APIs: Go to “APIs & Services” > “Library”. Search for and enable these two APIs:
- Maps JavaScript API
- Geocoding API (to convert addresses into coordinates)
- 5. Create and Secure an API Key: Go to “APIs & Services” > “Credentials”. Click “Create Credentials” > “API Key”. Crucially, restrict this key by clicking on it and setting these restrictions:
- Application Restriction: HTTP referrers
- Website Restrictions: Add your Wix site URLs (e.g., `https://yourusername.wixsite.com/yoursite`, `https://www.yourdomain.com`)
Enabling the Maps JavaScript API is a mandatory step
Step 2: Add a Container to Your Wix Page
1. In your Wix Editor, go to the page where you want the map.
2. Click Add (+) > Embed > HTML iframe.
3. Drag the element onto your page and resize it to your preferred dimensions. This blank box will host your custom map. Note its element ID (e.g., `html1`).
The HTML iframe element in Wix will act as your map container.

Step 3: Inject the Map Code with Wix Velo
Now, you’ll use Wix’s development environment to inject the Google Map code into the iframe.
- 1. Enable Dev Mode: In the Wix Editor, click “Dev Mode” in the top bar and turn it on.
- 2. Open the Code Panel: Click “Public & Backend” in the left-hand site menu.
- 3. Add the Code: In your page’s JavaScript file (e.g., `home.js`), paste the following code. Replace `YOUR_API_KEY` with the key you created in Step 1.
javascript
$w.onReady(function () {
    // Get the HTML iframe element. Change '#html1' if your element has a different ID.
    const htmlFrame = $w('#html1');

    // Define your locations. You can add as many as you need.
    const locations = [
        ['Main Office', '40.7128', '-74.0060'], // [Name, Lat, Lng]
        ['Downtown Store', '40.7074', '-74.0113'],
        ['Support Center', '40.7211', '-74.0005']
    ];

    // Create the HTML and JavaScript for the Google Map
    const mapHtml = `
        <!DOCTYPE html>
        <html>
        <head>
            <style>
                body, html { margin: 0; padding: 0; height: 100%; }
                #map { height: 100%; width: 100%; }
            </style>
        </head>
        <body>
            <div id="map"></div>
            <script>
                function initMap() {
                    // Initialize the map
                    const map = new google.maps.Map(document.getElementById('map'), {
                        zoom: 12,
                        center: { lat: 40.7128, lng: -74.0060 }, // Default center
                        styles: [] // Optional: Add custom map styles here
                    });

                    // Create an info window to share between markers.
                    const infowindow = new google.maps.InfoWindow();

                    // Add markers to the map
                    const locations = ${JSON.stringify(locations)};
                    locations.forEach(([title, lat, lng]) => {
                        const marker = new google.maps.Marker({
                            position: { lat: parseFloat(lat), lng: parseFloat(lng) },
                            map: map,
                            title: title
                        });

                        // Add a click listener to each marker
                        marker.addListener('click', () => {
                            infowindow.setContent('<strong>' + title + '</strong>');
                            infowindow.open(map, marker);
                        });
                    });
                }
            </script>
            <script async defer src="https://maps.googleapis.com/maps/api/js?key=YOUR_API_KEY&callback=initMap"></script>
        </body>
        </html>
    `;

    // Send the complete map HTML to the iframe
    htmlFrame.postMessage(mapHtml);
});
Code language: HTML, XML (xml)
This code creates a responsive Google Map with multiple markers and clickable info windows, all hosted within your Wix site.
The Significant Challenges of This Method
While this DIY approach works, it presents major hurdles for most Wix users:
- API Key Security: You are solely responsible for restricting your API key. A mistake can lead to unauthorized use and substantial, unexpected charges on your Google Cloud bill.
- Technical Complexity: This process requires comfort with JavaScript, Google Cloud Platform, and Wix Velo. A single syntax error can break the entire map.
- Maintenance Overhead: If you need to change a location, you must find the coordinates, edit the code, and republish your site.
- Limited Wix Integration: The map exists in an isolated iframe, making it harder to create seamless interactions with other elements on your Wix page.
The Simple, Professional Alternative: MapsFun.com
Why navigate the maze of API keys and code when you can achieve a superior result in a fraction of the time?
MapsFun.com is built specifically to solve this problem, offering a seamless, codeless experience for Wix users.
- 1. Zero Coding Required: Our visual editor lets you search for locations and add pins with a single click. No Velo, no code panels.
- 2. No API Key Management: We handle all the backend infrastructure and security. There is no risk of unexpected billing.
- 3. Deep Customization: Easily customize your map’s style, marker icons, and info windows with just a few clicks—no need to edit complex code.
- 4. Perfect Wix Integration: Once your map is ready, you get a simple embed code. Just paste it into the Wix HTML iframe, and you’re done. It just works.
Stop wrestling with Google Cloud and Velo. Create a stunning, fully-featured Google Map for your Wix site in minutes, not hours. Visit MapsFun.com to get started for free.