How to Add Google Maps to Wix Website
How to Add a Custom Map with Multiple Locations to Your Wix Site
Displaying multiple locations — like storefronts, event venues, or service areas—on your Wix website is a common need. While Wix has a built-in map element, it’s primarily designed for showing a single address. Creating a custom, multi-location map requires a workaround. This guide will show you the manual method using Wix’s Velo code and the Google Maps API.
This method is powerful and fully customizable, but it requires a Google Cloud account, enabling paid APIs, and writing JavaScript code within Wix.
Method 1: Using Wix Velo and the Google Maps API (The “Developer” Way)
This approach gives you full control over the map’s look and functionality but involves several technical steps.
Step 1: Prepare Your Google Cloud Project
Before touching Wix, you need to set up access to Google’s mapping services.
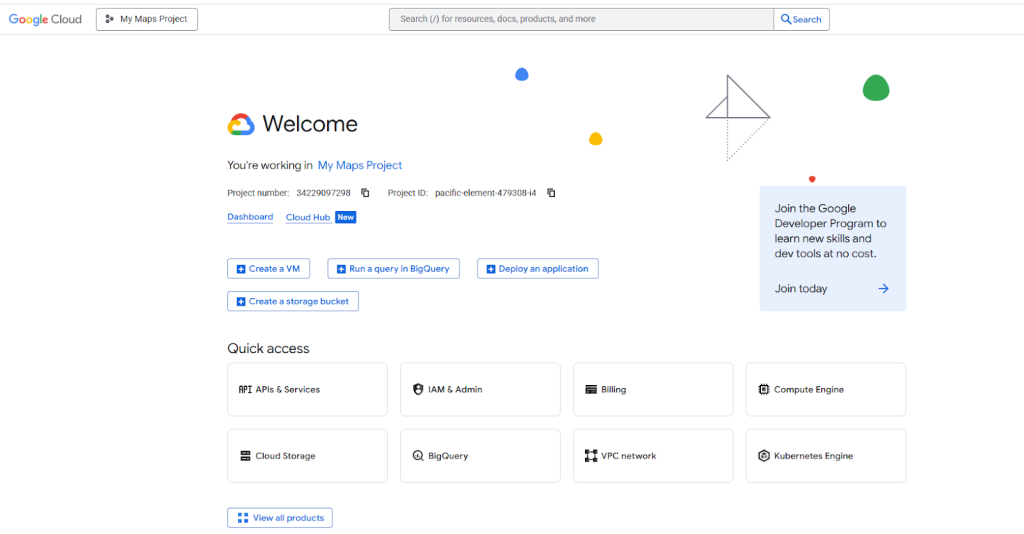
- 1. Go to the [Google Cloud Console](https://console.cloud.google.com/).
- 2. Create a new project and enable billing. Don’t worry—Google offers a $200 monthly credit, which is more than enough for most small to medium websites.
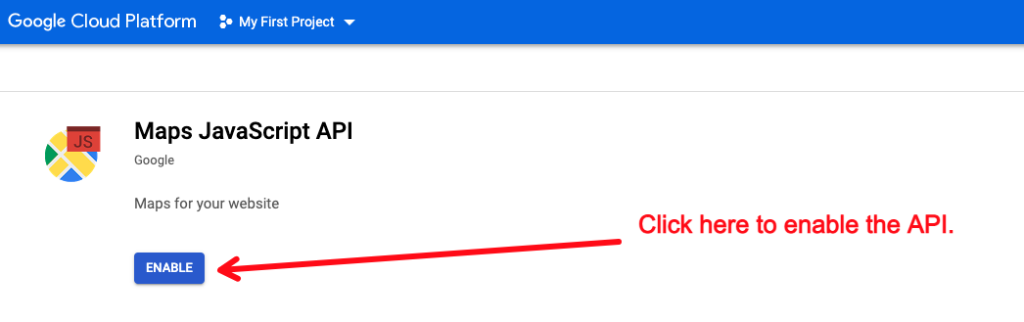
- 3. Enable the Necessary APIs: Navigate to “APIs & Services > Library” and enable these two:
- Maps JavaScript API
- Geocoding API (to convert addresses into coordinates)
- 4. Create an API Key: Go to “APIs & Services > Credentials” and click “Create Credentials > API key”.
- 5. Crucially, Restrict Your API Key: For security, restrict the key to the Maps JavaScript API and your website’s domain (e.g., `https://yourusername.wixsite.com/yoursite` and your custom domain).
Enabling the necessary APIs in Google Cloud Console.*
Step 2: Add the Map Container to Your Wix Page
1. In the Wix Editor, go to the page where you want the map.
2. Click Add (+) > More > HTML Code.
3. Drag the “HTML iframe” element onto your page and resize it to your preferred dimensions. You don’t need to paste any code into the element’s settings yet. This box will act as the container for your map.
Adding an HTML iframe element to a Wix page.
Step 3: Use Wix Velo to Inject the Map Code
This is the most technical part. You’ll use Wix’s development environment to write code that “injects” the Google Map into the HTML box.
1. In the Wix Editor, click Dev Mode > Enable Dev Mode.
2. Click Public & Backend in the site menu to open the code editor.
3. In your page’s code (e.g., `home.js`), add the following JavaScript. Replace `YOUR_API_KEY` with the key you generated in Step 1.
$w.onReady(function () {
    // The ID of your HTML iframe element. You can find this in the Properties panel.
    const htmlComponent = $w('#html1');

    // Your list of locations: [Name, Address]
    const locations = [
        ['New York Office', '350 5th Ave, New York, NY 10118'],
        ['Brooklyn Warehouse', '55 Water St, Brooklyn, NY 11201'],
        ['Central Park Kiosk', 'Central Park, New York, NY']
    ];

    // Function to geocode an address and return its Lat/Lng
    function geocodeAddress(address) {
        const geocoder = new google.maps.Geocoder();
        return new Promise((resolve, reject) => {
            geocoder.geocode({ 'address': address }, (results, status) => {
                if (status === 'OK') {
                    resolve(results[0].geometry.location);
                } else {
                    reject('Geocode failed: ' + status);
                }
            });
        });
    }

    // Initialize the map once all addresses are geocoded
    Promise.all(locations.map(location => geocodeAddress(location[1])))
        .then(coordinates => {
            // Create the HTML and JavaScript for the map
            const mapHtml = `
                <!DOCTYPE html>
                <html>
                <head>
                    <style>#map { height: 100%; width: 100%; }</style>
                </head>
                <body>
                    <div id="map"></div>
                    <script src="https://maps.googleapis.com/maps/api/js?key=YOUR_API_KEY"></script>
                    <script>
                        const map = new google.maps.Map(document.getElementById('map'), {
                            zoom: 10,
                            center: { lat: 40.7128, lng: -74.0060 } // Default center (NYC)
                        });

                        // Add markers for each location
                        const locations = ${JSON.stringify(locations)};
                        const coordinates = ${JSON.stringify(coordinates)};

                        coordinates.forEach((coord, i) => {
                            new google.maps.Marker({
                                position: coord,
                                map: map,
                                title: locations[i][0]
                            });
                        });

                        // Adjust map bounds to show all markers
                        const bounds = new google.maps.LatLngBounds();
                        coordinates.forEach(coord => bounds.extend(coord));
                        map.fitBounds(bounds);
                    </script>
                </body>
                </html>
            `;

            // Post the HTML to the iframe
            htmlComponent.postMessage(mapHtml);
        })
        .catch(error => console.error(error));
});
Code language: PHP (php)
This code does the following: it takes your list of addresses, converts them to coordinates using the Google Geocoding API, and then generates a full Google Map with markers, which it sends to the HTML iframe on your page.
The Challenges with This Wix Velo Method
As you can see, this process is not for the faint of heart
* Technical Overhead: You need to manage a Google Cloud account and billing, which can be intimidating for non-developers.
* Complex Code: The solution requires a solid understanding of JavaScript, Promises, and the Google Maps API.
* Wix-Specific Quirks: Using `postMessage` to communicate with an HTML iframe is a specific workaround for Wix’s environment.
* Limited Design Control: Customizing the map’s design (colors, marker icons) requires even more complex code changes.
There’s a Much Simpler, Codeless Solution: MapsFun.com
Why spend hours wrestling with API keys and complex code when you can achieve a better result in minutes?
MapsFun.com is built specifically for this purpose. It completely bypasses the need for Google Cloud and Velo coding.
1. Truly No-Code: Simply use the intuitive visual editor to search for locations and add them to your map with a click.
2. No API Keys or Billing: We handle all the backend complexity. You just design your map.
3. Rich Customization: Easily choose from different map styles, add custom icons for different location types, and design beautiful pop-up info windows—all through a user-friendly interface.
4. Seamless Wix Integration: Once your map is perfect, you just copy the embed code and paste it into the same Wix HTML iframe element. No custom code required.
Stop the struggle with Velo and Google Cloud. Create a beautiful, professional, multi-location map in minutes and embed it on your Wix site effortlessly with MapsFun.com.