Best Google Maps Widgets for Websites
Integrating Google Maps on Your Website: Developer’s Tutorial
A Google Maps widget on your “Contact Us” page is a must-have. It helps customers find you easily and builds trust. While adding a simple, static map is relatively easy, creating a customized, interactive widget often requires diving into code. This guide will walk you through the manual process using the Google Maps Platform
Heads-up: The basic embed method is simple, but for any real customization (styling, multiple markers, custom icons), you’ll need to use the Google Maps JavaScript API, which involves a developer setup.
Method 1: The Simple Embed (For a Single, Static Location)
This is the quickest way for a basic map pointing to one place.
- 1. Go to Google Maps: Navigate to [https://www.google.com/maps]
- 2. Find Your Location: Search for your business address or the desired location.
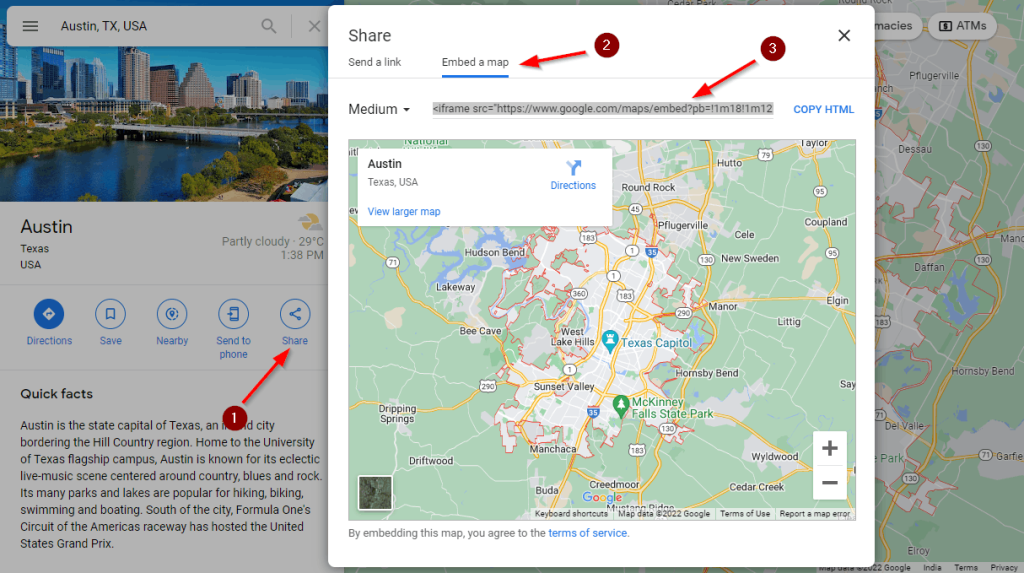
- 3. Share and Embed:
- Click the “Share” button in the left-hand panel.
- Switch to the “Embed a map” tab.
- Choose your desired map size (Small, Medium, Large) from the dropdown. The code snippet will update automatically.
- Copy the provided HTML code.
Screenshot: The ‘Embed a map’ tab in Google Maps sharing options.
- 4. Paste on Your Website: Paste this code directly into the HTML of your website page.
<!-- Example of a basic embedded map -->
<iframe src="https://www.google.com/maps/embed?pb=!1m18!1m12!1m3!1d3024.550808952427!2d-74.04668912404904!3d40.689253438263!2m3!1f0!2f0!3f0!3m2!1i1024!2i768!4f13.1!3m3!1m2!1s0x89c25090129c363d%3A0x40c6a5770d25022b!2sStatue%20of%20Liberty!5e0!3m2!1sen!2sus!4v1712345678901!5m2!1sen!2sus" width="600" height="450" style="border:0;" allowfullscreen="" loading="lazy" referrerpolicy="no-referrer-when-downgrade"></iframe>
Code language: HTML, XML (xml)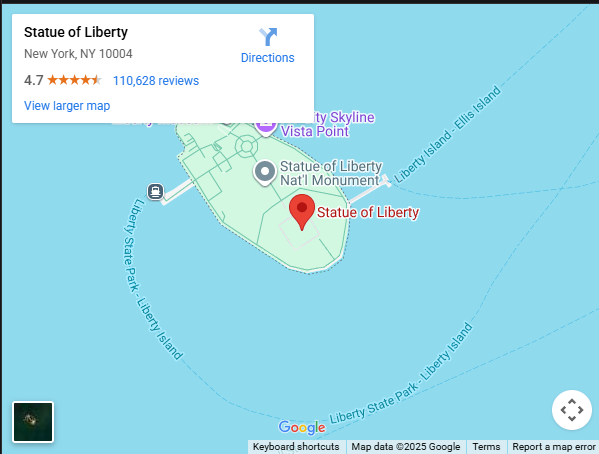
This method offers little customization. You can’t change the map style, add multiple pins, or use custom markers.
Method 2: The Custom JavaScript Widget (For Full Control)
For a truly custom widget, you need the Google Maps JavaScript API. This is the powerful, but technical, route.
Step 1: Get a Google Maps API Key
This is the most critical and often most confusing step for non-developers.
- 1. Go to the [Google Cloud Console](https://console.cloud.google.com/).
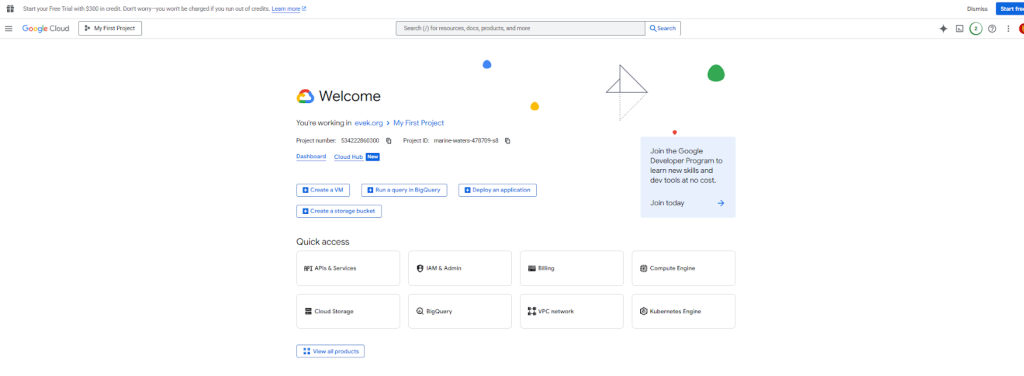
- 2. Create a new project and enable billing. (Don’t worry, you get a $200 monthly credit; a simple map won’t exceed this).
- 3. Navigate to “APIs & Services > Library”.
- 4. Search for and enable the “Maps JavaScript API”.
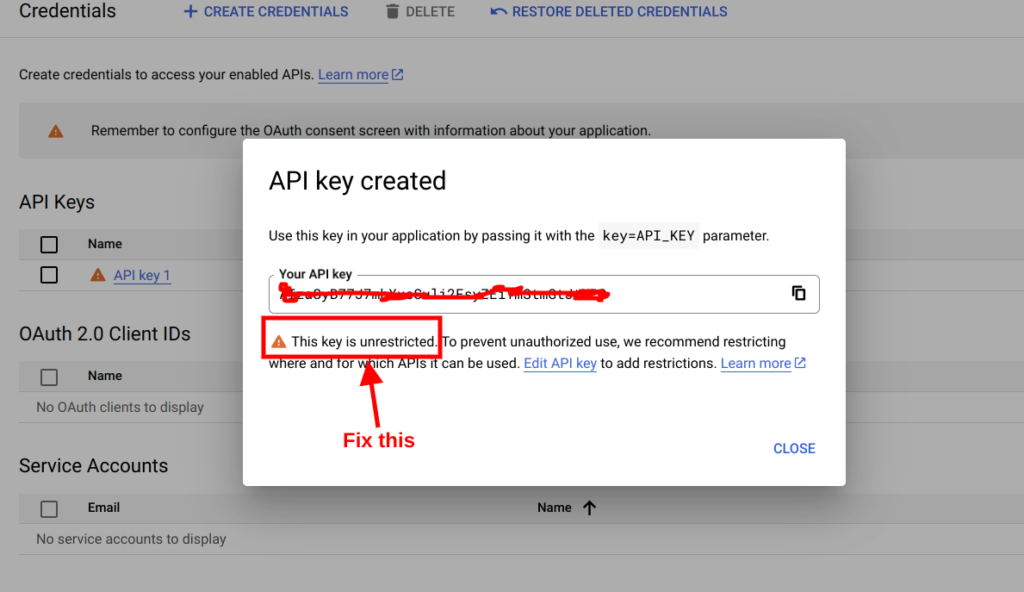
- 5. Then, go to “APIs & Services > Credentials” and click “Create Credentials > API Key”.
- 6. RESTRICT YOUR KEY! For security, click on the key and restrict its usage to your website domain (e.g., `yourwebsite.com`) under “Application restrictions”.
[API Key creation and restriction in Google Cloud Console] Showing where to create and restrict your API key.
Step 2: Build the Custom Map Widget
Create an HTML file and use the following code. This example creates a styled map with a custom marker and an info window that opens when you click the pin.
<!DOCTYPE html>
<html>
<head>
    <title>Custom Business Map</title>
    <!-- Include the Google Maps JS API with your key -->
    <script async defer src="https://maps.googleapis.com/maps/api/js?key=YOUR_API_KEY_HERE&callback=initMap"></script>
    <style>
        #custom-map {
            height: 400px;
            width: 100%;
            border-radius: 10px; /* Rounded corners for style */
            border: 2px solid #ccc;
        }
    </style>
</head>
<body>
    <h2>Visit Our Store</h2>
    <div id="custom-map"></div>

    <script>
        function initMap() {
            // Define the location for your marker
            const myStore = { lat: 40.689253, lng: -74.046689 };

            // Create a new map centered on your location
            const map = new google.maps.Map(document.getElementById("custom-map"), {
                zoom: 15,
                center: myStore,
                styles: [ // Optional: Custom map styling to match your brand
                    {
                        "featureType": "all",
                        "elementType": "geometry",
                        "stylers": [{ "color": "#f5f5f5" }]
                    }
                ]
            });

            // Create a custom marker
            const marker = new google.maps.Marker({
                position: myStore,
                map: map,
                title: 'Our Awesome Store!', // Tooltip
                // icon: 'path/to/custom-icon.png' // Uncomment to use a custom pin icon
            });

            // Create an info window with your business details
            const infowindow = new google.maps.InfoWindow({
                content: `
                    <div style="padding: 10px;">
                        <h3 style="margin: 0;">Our Awesome Store</h3>
                        <p>123 Main Street, City, State</p>
                        <p><strong>Open 9 AM - 6 PM</strong></p>
                    </div>
                `
            });

            // Open the info window when the marker is clicked
            marker.addListener('click', () => {
                infowindow.open(map, marker);
            });
        }
    </script>
</body>
</html>
Code language: HTML, XML (xml)
Crucial Step: Replace `YOUR_API_KEY_HERE` in the script tag with the actual API key you generated in Step 1.
The Reality of This “Powerful” Method
While the JavaScript API is incredibly powerful, it comes with significant overhead:
- API Key Management: You are responsible for securing your keys to prevent unauthorized use and potential charges.
- Billing Setup: You must enable billing on a Google Cloud account, which is intimidating for many small business owners.
- Development Time: Customizing styles, adding multiple markers, and making it responsive requires time and coding knowledge.
- Maintenance: If Google updates its API, you might need to update your code.
Create a Better Map Widget, Instantly with MapsFun.com
What if you could get all the customization power of the JavaScript API without any of the complexity?
MapsFun.com is built specifically for this. It turns the multi-step, technical process into a simple, visual one.
- No API Keys or Code: Point, click, and customize your map through an intuitive visual editor.
- Rich Customization: Easily apply beautiful map styles, add custom markers with your logo, and design info windows—all in a few clicks.
- Multiple Locations Made Easy: Adding several store locations is as simple as searching for an address and clicking “Add to Map.”
- Get the Code Instantly: When you’re done, you get a clean, optimized embed code ready to paste into any website builder like WordPress, Wix, or Webflow.
Stop dealing with API consoles and code debugging. Create a stunning, fully-featured Google Maps widget in minutes with MapsFun.com.