How to Create Map Showing Multiple Locations (Complete Guide)
How to Create a Google Map with Multiple Locations: A Step-by-Step Guide
Embedding a map with multiple locations—like store fronts, event venues, or service areas—can significantly enhance your website’s usability. While Google offers the tools to do this for free, the process can be technical. This guide will walk you through the two main methods.
Method 1: The Manual Google My Maps Way (No Coding)
This method is great for non-developers who need a quick, simple map and don’t mind the somewhat dated interface.
Step 1: Access Google My Maps
1. Go to https://www.google.com/mymaps
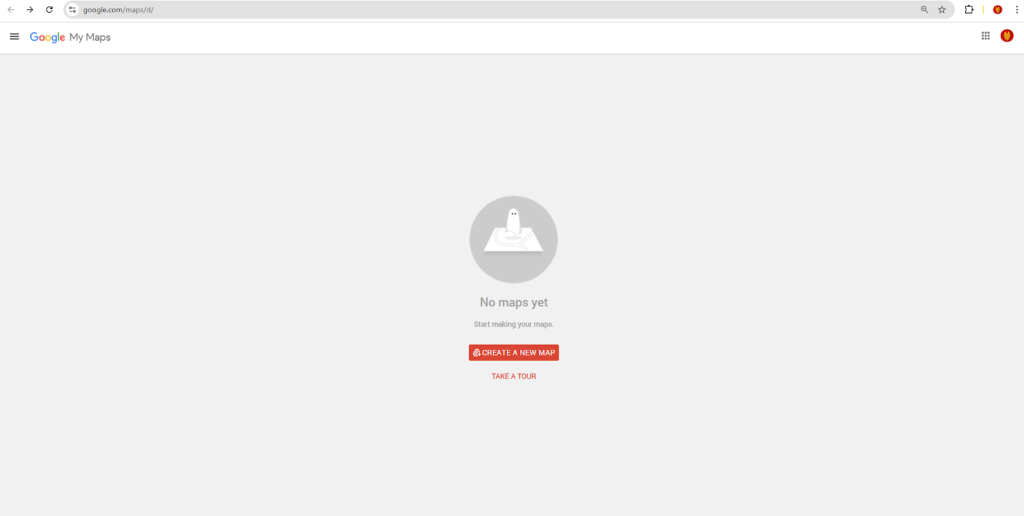
2. Sign in with your Google account.
3. Click on “Create a New Map”.
Step 2: Create Your Map and Add Locations
- 1. Click on the map title (“Untitled map”) to give it a name and description.
- 2. To add a location: Use the search bar under the title, or click the marker pin icon below it and then click on a spot on the map.
- 3. In the pop-up window, you can name the location, add a description, and even upload images.
Step 3: Customize and Style (Optional)
You can style your markers by changing their color and icon shape directly from the location pop-up window. You can also create different layers to group locations (e.g., “Coffee Shops” vs. “Bookstores”).
Step 4: Embed the Map on Your Website
- 1. In your map menu, click the three-dot menu (⋮) next to the map name and select “Embed on my site”.
- 2. A pop-up will appear with an HTML `<iframe>` code. Copy this code.
- 3. Paste this code into the HTML section of your website page or post.
html
<iframe src="https://www.google.com/maps/d/embed?mid=1YOUR_UNIQUE_MAP_ID&ehbc=2E312F" width="640" height="480"></iframe>
Code language: HTML, XML (xml)
Limitations of this method:
- The embedded map has a default, generic design that might not fit your website’s branding.
- Customization options are very limited.
- The interface can be clunky for managing a large number of locations.
Method 2: Using the Google Maps JavaScript API (Full Control)
For a fully customized, seamless experience, you need to use the API. This requires technical knowledge.
Step 1: Get a Google Maps API Key
1. Go to the [Google Cloud Console](https://console.cloud.google.com/).
2. Create a project, enable billing, and then enable the “Maps JavaScript API”.
3. Go to “Credentials” and create an API Key. Crucially, restrict this key to your website’s domain for security.
Step 2: Implement the Code
Create an HTML file and use the following code as a template. This creates a map with three predefined locations.
html
<!DOCTYPE html>
<html>
<head>
    <title>Custom Multi-Location Map</title>
    <style>
        #map {
            height: 400px;
            width: 100%;
            border-radius: 8px; /* Optional: for rounded corners */
        }
    </style>
</head>
<body>
    <h2>Find Us Here</h2>
    <div id="map"></div>

    <!-- Replace YOUR_API_KEY with your actual key -->
    <script async defer src="https://maps.googleapis.com/maps/api/js?key=YOUR_API_KEY&callback=initMap"></script>
    <script>
        function initMap() {
            // Set the initial center of the map
            const center = { lat: 51.5074, lng: -0.1278 }; // London

            // Create the map
            const map = new google.maps.Map(document.getElementById("map"), {
                zoom: 11,
                center: center,
                styles: [] // You can add custom map styles here
            });

            // Define your locations
            const locations = [
                { lat: 51.5074, lng: -0.1278, title: "London Office" },
                { lat: 51.5155, lng: -0.0723, title: "East London Branch" },
                { lat: 51.4623, lng: -0.1147, title: "South London Warehouse" }
            ];

            // Create an InfoWindow
            const infowindow = new google.maps.InfoWindow();

            // Loop through locations and add markers
            locations.forEach(location => {
                const marker = new google.maps.Marker({
                    position: { lat: location.lat, lng: location.lng },
                    map: map,
                    title: location.title
                });

                // Add a click listener to open the InfoWindow
                marker.addListener('click', () => {
                    infowindow.setContent(`<strong>${location.title}</strong>`);
                    infowindow.open(map, marker);
                });
            });
        }
    </script>
</body>
</html>
Code language: HTML, XML (xml)
The Challenges with the API Method:
- Technical Barrier: Requires comfort with HTML, CSS, and JavaScript.
- API Management: You must set up and securely manage a Google Cloud project with billing enabled.
- Complex Customization: Adding features like custom marker icons, clustering for many locations, or advanced info windows requires significant additional code.
The Simple, Powerful Alternative: MapsFun.com
As you can see, creating a truly customized, professional multi-location map involves a steep learning curve, whether you’re wrestling with the limited “My Maps” interface or diving deep into API documentation and code.
There’s a better way.
MapsFun.com is built specifically to solve this problem. It gives you the power and customization of the JavaScript API without any of the complexity.
- No Coding or API Keys: Create beautiful, interactive maps in minutes using an intuitive visual editor.
- Powerful Customization: Easily add custom markers, apply stylish map themes, and design rich info windows with images and text.
- Direct Embedding: Get a simple embed code to paste into your website, just like the “My Maps” method, but with a design that looks professional and integrated.
Stop spending hours on complex setups. Create a stunning Google Map with multiple locations in just a few clicks. Visit MapsFun.com to get started for free.