How to Put Multiple Locations on Google Maps (2025 Step-by-Step)
How to Put Multiple Locations on Google Maps: The Complete Technical Guide
Need to display multiple locations on a Google Map for your website, business, or project? While Google My Maps offers a basic solution, creating a truly custom, embeddable multi-location map requires navigating Google’s complex ecosystem. This guide walks through the technically correct but cumbersome process step-by-step.
Method 1: Google My Maps (The “Simple” Built-in Tool)
Google’s own tool seems like the obvious solution, but it has significant limitations for web use.
- Step-by-Step Process:
- 1. Go to [Google My Maps](https://www.google.com/maps/d/)
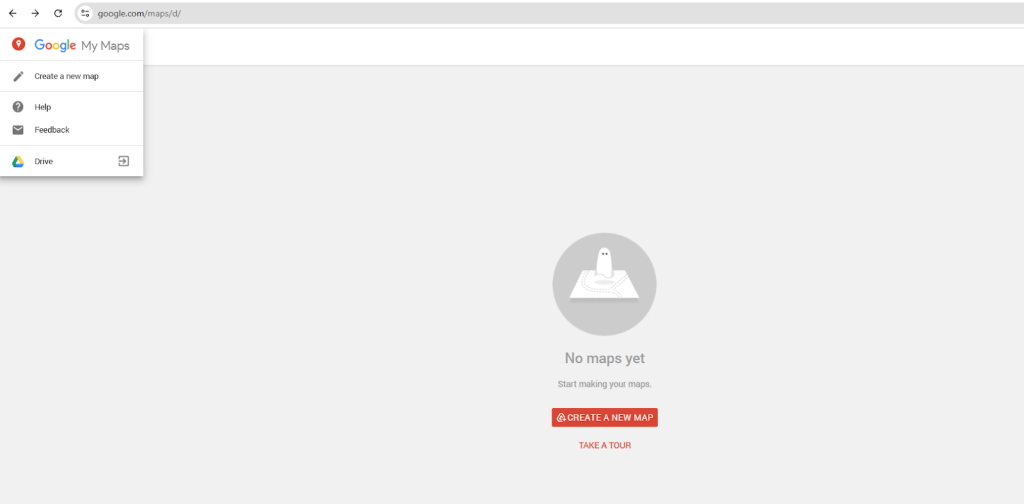
- 2. Click “Create a New Map”
- 3. Use the search bar or marker tool to add locations

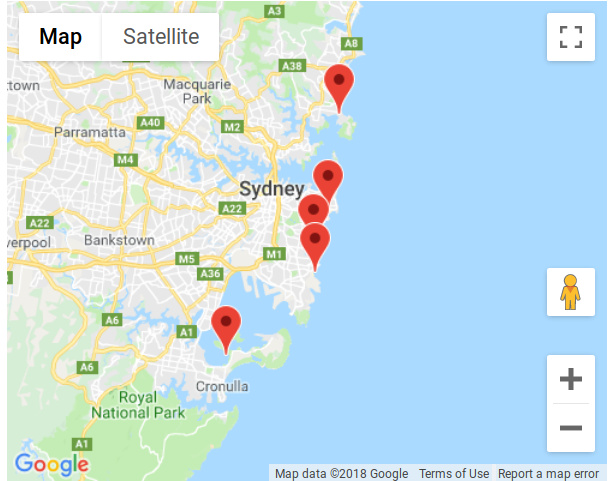
- 4. Customize markers with colors and icons (limited options)
- 5. Click “Share” and make map public
- 6. Click the three-dot menu → “Embed on my site”
- html
<!-- The embed code you'll get -->
<iframe
  src="https://www.google.com/maps/d/embed?mid=1YOUR_MAP_ID&ehbc=2E312F"
  width="640"
  height="480">
</iframe>
Code language: HTML, XML (xml)
The Limitations You’ll Encounter:
- – Limited styling: Can’t match your website’s branding
- – Basic markers only: No custom HTML popups or advanced interactions
- – Clunky interface: Managing many locations becomes tedious
- – Embed restrictions: The iframe often breaks responsive designs
- – No API access: Can’t dynamically update from a database
Method 2: Google Maps JavaScript API (The “Proper” Developer Way)
For a professional, customizable solution, you need the Google Maps Platform. Here’s what that actually involves:
Step 1: Google Cloud Console Setup
- 1. Create a Google Cloud Project: [console.cloud.google.com](https://console.cloud.google.com/)
- 2. Enable Billing: Yes, even with free credits, you must add a payment method
- 3. Enable APIs: You need at least:
- – Maps JavaScript API
- – Geocoding API (to convert addresses to coordinates)
- 4. Create API Key: Go to Credentials → Create Credentials → API Key
- 5. Restrict the Key: Critical step! Restrict to:
- – HTTP referrers (your domain)
- – The specific APIs you enabled
Step 2: Build the Multi-Location Map Code
Create an HTML file with this complete implementation:
html
<!DOCTYPE html>
<html>
<head>
    <title>Multi-Location Business Map</title>
    <style>
        #multi-location-map {
            height: 600px;
            width: 100%;
            border-radius: 12px;
            box-shadow: 0 4px 20px rgba(0,0,0,0.1);
        }
        .map-controls {
            background: white;
            padding: 15px;
            border-radius: 8px;
            margin-bottom: 20px;
            box-shadow: 0 2px 10px rgba(0,0,0,0.05);
        }
    </style>
</head>
<body>
    <div class="map-controls">
        <h3>Our Locations (4)</h3>
        <button onclick="showAllLocations()">Show All</button>
        <button onclick="zoomToLocation(0)">New York</button>
        <button onclick="zoomToLocation(1)">London</button>
        <button onclick="zoomToLocation(2)">Tokyo</button>
    </div>

    <div id="multi-location-map"></div>

    <script>
        // Your Google Maps API Key (REPLACE THIS!)
        const API_KEY = 'YOUR_GOOGLE_MAPS_API_KEY_HERE';

        // Multiple locations data
        const locations = [
            {
                name: "New York Headquarters",
                address: "123 Broadway, New York, NY 10007",
                lat: 40.7128,
                lng: -74.0060,
                phone: "+1 (212) 555-1234",
                hours: "Mon-Fri: 9AM-6PM"
            },
            {
                name: "London Office",
                address: "1 Regent Street, London SW1Y 4NR",
                lat: 51.5074,
                lng: -0.1278,
                phone: "+44 20 7123 4567",
                hours: "Mon-Fri: 8AM-7PM"
            },
            {
                name: "Tokyo Branch",
                address: "2-11-3 Ginza, Chuo City, Tokyo 104-0061",
                lat: 35.6729,
                lng: 139.7694,
                phone: "+81 3-1234-5678",
                hours: "Mon-Sat: 10AM-8PM"
            },
            {
                name: "Sydney Office",
                address: "5 Martin Place, Sydney NSW 2000",
                lat: -33.8679,
                lng: 151.2073,
                phone: "+61 2 1234 5678",
                hours: "Mon-Fri: 8:30AM-5:30PM"
            }
        ];

        let map;
        let markers = [];
        let infoWindow;

        function initMap() {
            // Calculate center point of all locations
            const center = calculateCenter(locations);

            // Initialize the map
            map = new google.maps.Map(document.getElementById('multi-location-map'), {
                zoom: 10,
                center: center,
                styles: [
                    {
                        "featureType": "poi.business",
                        "elementType": "labels",
                        "stylers": [{"visibility": "off"}]
                    }
                ]
            });

            // Create info window
            infoWindow = new google.maps.InfoWindow();

            // Add markers for each location
            locations.forEach((location, index) => {
                const marker = new google.maps.Marker({
                    position: { lat: location.lat, lng: location.lng },
                    map: map,
                    title: location.name,
                    animation: google.maps.Animation.DROP,
                    icon: {
                        url: `https://maps.google.com/mapfiles/ms/icons/blue-dot.png`,
                        scaledSize: new google.maps.Size(40, 40)
                    }
                });

                markers.push(marker);

                // Add click listener
                marker.addListener('click', () => {
                    const content = `
                        <div style="padding: 15px; min-width: 250px;">
                            <h3 style="margin: 0 0 10px 0; color: #1a73e8;">${location.name}</h3>
                            <p style="margin: 0 0 8px 0; color: #5f6368;">
                                <strong>📌 Address:</strong><br>
                                ${location.address}
                            </p>
                            <p style="margin: 0 0 8px 0; color: #5f6368;">
                                <strong>📞 Phone:</strong> ${location.phone}
                            </p>
                            <p style="margin: 0; color: #5f6368;">
                                <strong>🕒 Hours:</strong> ${location.hours}
                            </p>
                        </div>
                    `;

                    infoWindow.setContent(content);
                    infoWindow.open(map, marker);

                    // Center map on clicked marker
                    map.panTo(marker.getPosition());
                    map.setZoom(14);
                });
            });

            // Fit bounds to show all markers
            fitMapBounds();
        }

        function calculateCenter(locations) {
            let totalLat = 0;
            let totalLng = 0;

            locations.forEach(location => {
                totalLat += location.lat;
                totalLng += location.lng;
            });

            return {
                lat: totalLat / locations.length,
                lng: totalLng / locations.length
            };
        }

        function fitMapBounds() {
            const bounds = new google.maps.LatLngBounds();
            markers.forEach(marker => {
                bounds.extend(marker.getPosition());
            });
            map.fitBounds(bounds);
        }

        function showAllLocations() {
            fitMapBounds();
            infoWindow.close();
        }

        function zoomToLocation(index) {
            if (markers[index]) {
                map.panTo(markers[index].getPosition());
                map.setZoom(14);
                google.maps.event.trigger(markers[index], 'click');
            }
        }

        // Load the Google Maps API
        function loadGoogleMaps() {
            const script = document.createElement('script');
            script.src = `https://maps.googleapis.com/maps/api/js?key=${API_KEY}&callback=initMap`;
            script.async = true;
            document.head.appendChild(script);
        }

        // Initialize when page loads
        window.onload = loadGoogleMaps;
    </script>
</body>
</html>
Code language: HTML, XML (xml)
Step 3: Customize and Embed
- 1. Replace `YOUR_GOOGLE_MAPS_API_KEY_HERE` with your actual API key
- 2. Update the `locations` array with your actual addresses and coordinates
- 3. Host the HTML file on your server
- 4. Embed using an iframe on your website:
html
<iframe
  src="https://yourdomain.com/multi-location-map.html"
  width="100%"
  height="650"
  frameborder="0"
  style="border: 1px solid #e0e0e0; border-radius: 12px;"
  allowfullscreen>
</iframe>Code language: HTML, XML (xml)
The Hidden Complexities Nobody Tells You About
Problem 1: Geocoding Addresses
Your addresses need latitude/longitude coordinates. You must:
- – Manually geocode each address using a separate tool
- – Or implement batch geocoding with additional API calls ($5 per 1000 requests)
Problem 2: API Key Management
- – Keys can be stolen if not properly restricted
- – Unexpected usage can lead to surprise bills (even with $200 credit)
- – Need to monitor usage in Google Cloud Console
Problem 3: Performance Issues
- – Each marker adds load time
- – No built-in clustering for many locations
- – Mobile optimization requires additional code
Problem 4: Maintenance Burden
- – Changing a location requires editing code
- – Adding new locations means manual coordinate lookup
- – No visual editor for non-technical users
The Four-Step Hassle Chain
- 1. Address Collection → Manual coordinate conversion
- 2. Google Cloud Setup → API keys, billing, restrictions
- 3. Custom Coding → HTML, CSS, JavaScript debugging
- 4. Hosting & Embedding → Server setup, iframe implementation
Each step requires technical expertise and introduces potential errors.
The Modern Solution: MapsFun.com
What if you could create beautiful, interactive multi-location maps without touching code, API keys, or complex settings?
MapsFun.com is built specifically for this challenge:
- 1. Visual Map Editor: Add unlimited locations by clicking on the map or importing spreadsheets
- 2. Automatic Geocoding: Just paste addresses—no manual coordinate lookup needed
- 3. Professional Templates: Start with beautifully designed map styles that match your brand
- 4. Smart Features: Automatic clustering, optimized loading, mobile-responsive design
- 5. Easy Embedding: One-click embed code for any website or CMS
Stop wrestling with Google Cloud Console and custom JavaScript. Create stunning multi-location maps in minutes, not hours. With MapsFun.com, you get professional results without the technical headache—focus on your business, not map debugging.